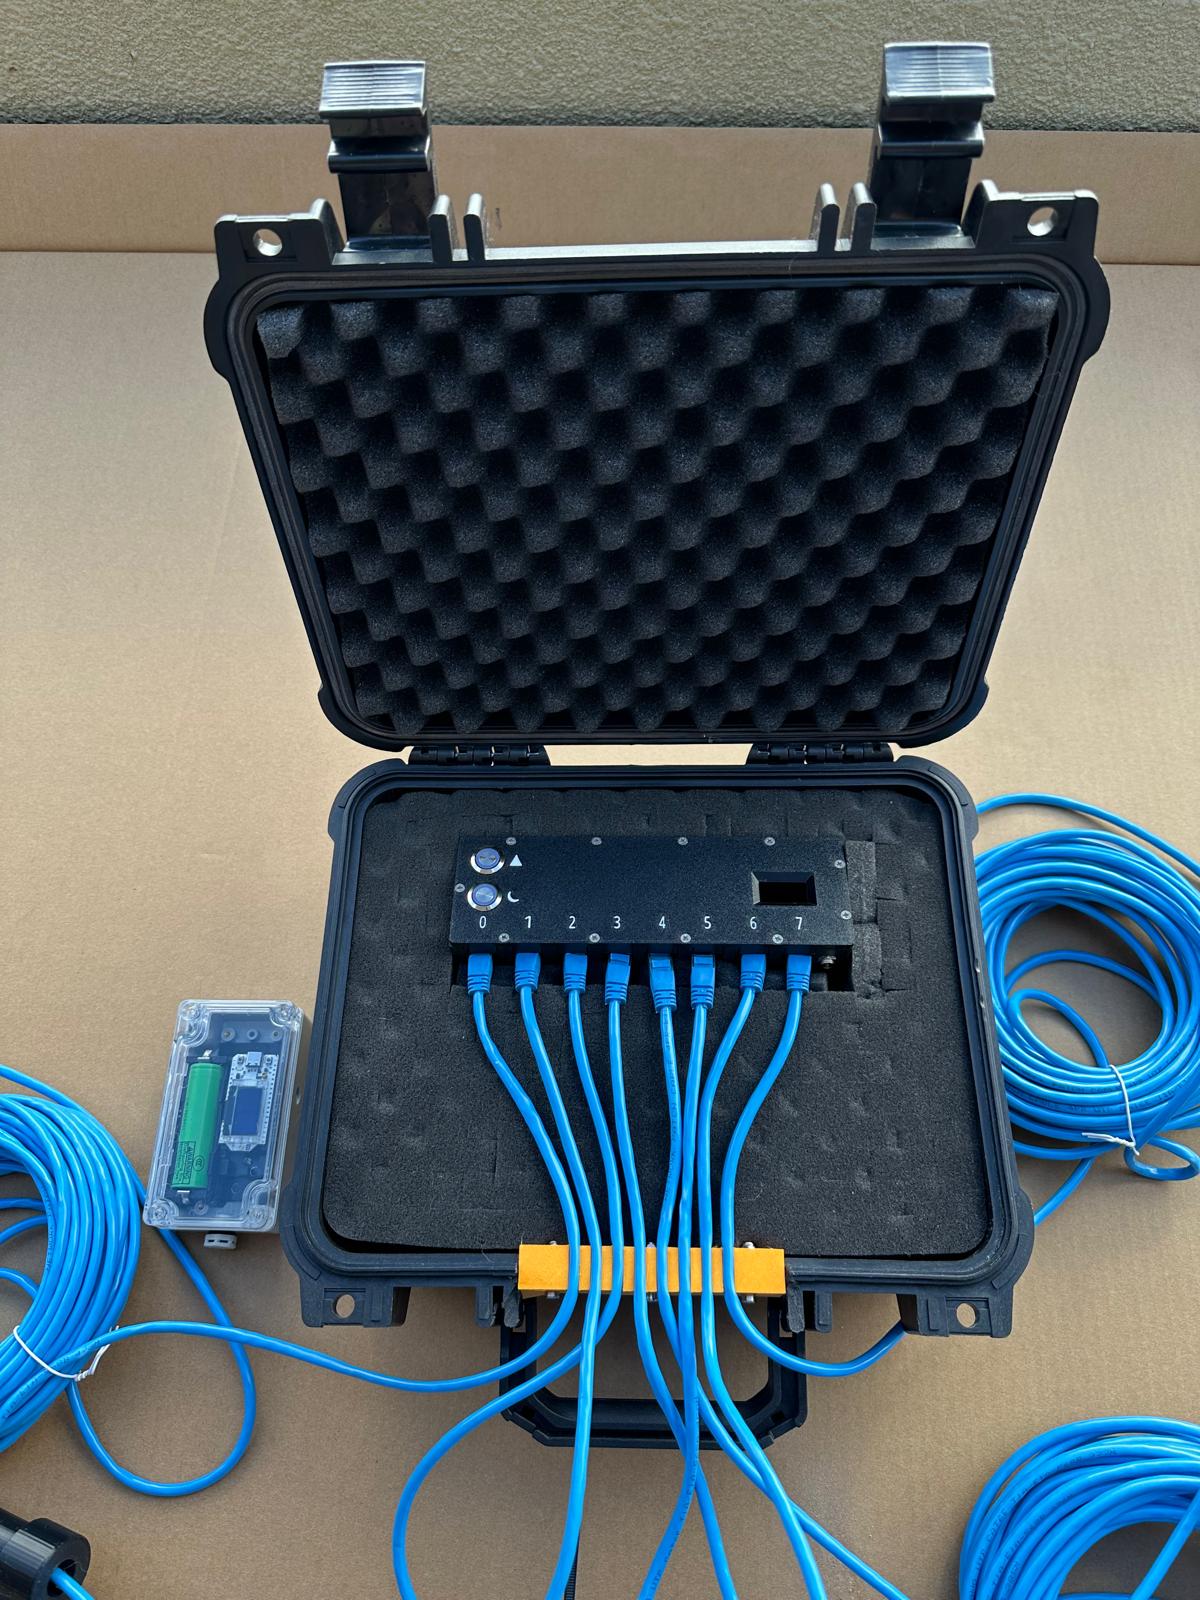
How do you want your data?
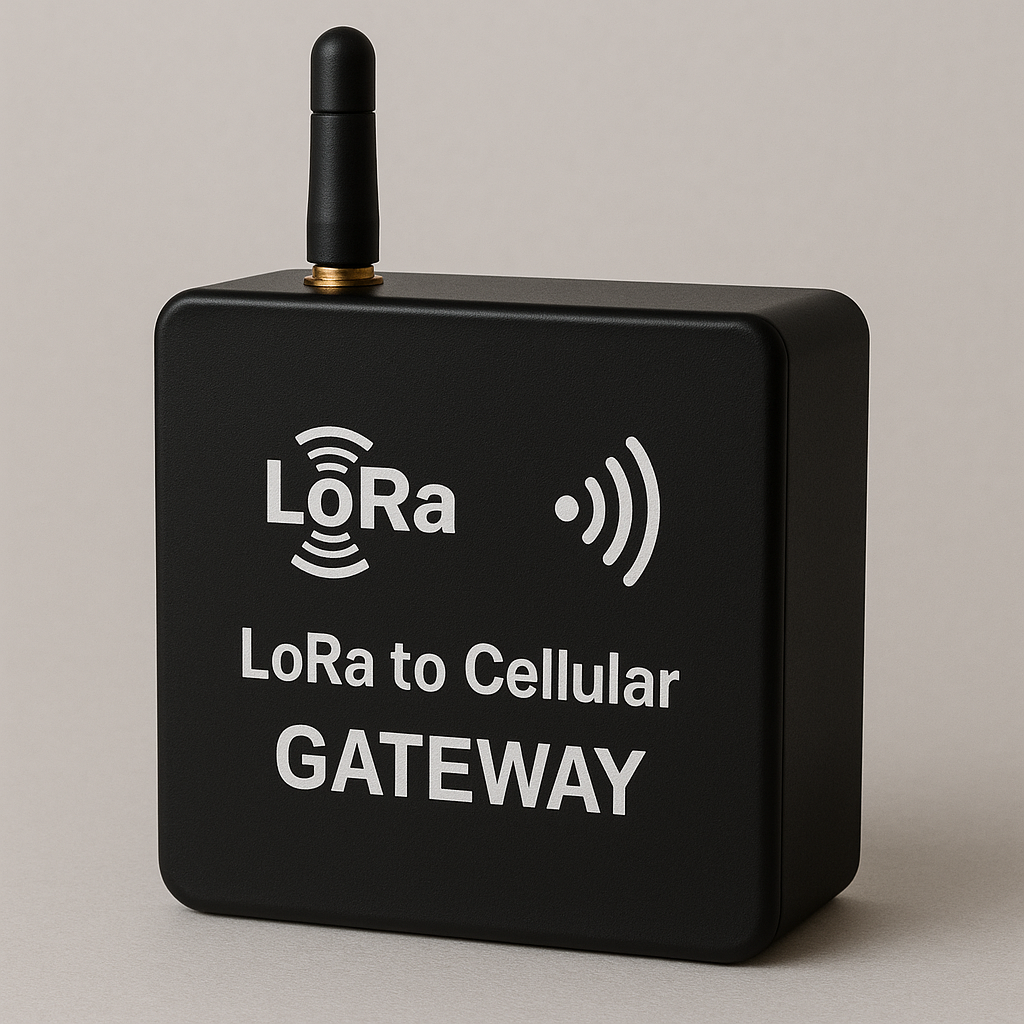
Real Time or Logging
The sensor unit/s transmit in either Wi-Fi or Lora (long range) to a gateway for live data. if there is no cloud connected gateway, the unit will log your data to keep it safe until transmission resumes

Cloud Connect Options
No gateway needed if you plan to pick up the logged data direct via Wi-Fi hotspot. We also offer a LoRa version for longer-range, live data.